How to Build Your Own 24/7 AI Personal Assistant with OpenClaw
• Zahid Ul Islam
Stop chatting with AI and start making it work for you. Learn how to install and configure OpenClaw—a powerful, self-hosted autonomous agent that lives in your WhatsApp and Discord, manages your files, and automates your digital life.
Imagine having a personal assistant that doesn't just talk back but actually does things. One that lives on your server, never sleeps, and can access your calendar, files, and smart home devices directly from WhatsApp or Discord.
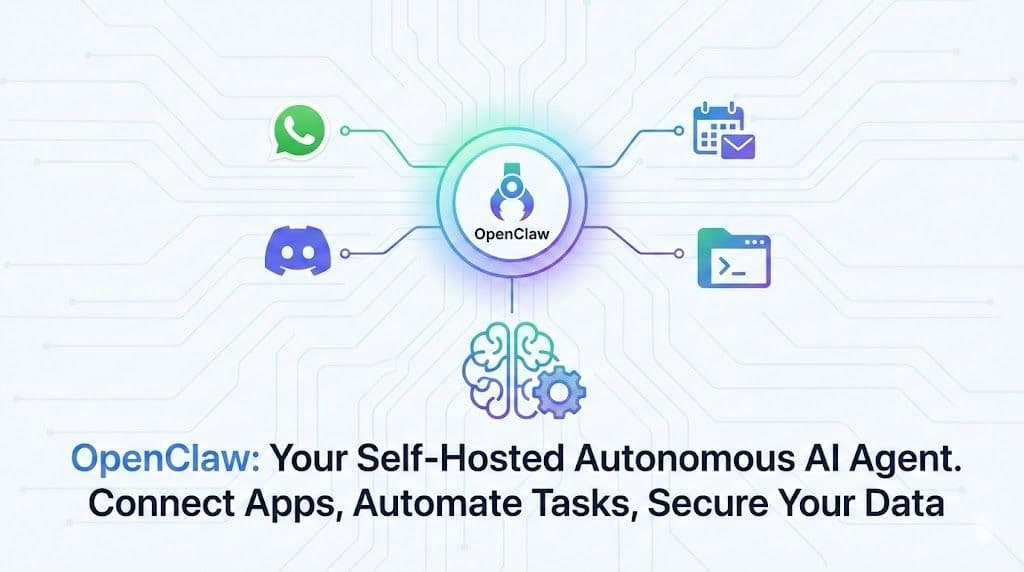
That assistant is OpenClaw (formerly known as ClaudeBot or MoltBot).
In this tutorial, we’ll walk through how to set up OpenClaw, a powerful open-source runtime that lets you host proactive autonomous agents. By the end of this guide, you’ll have a secure, multi-platform AI operator under your complete control.
What is OpenClaw?
OpenClaw is a self-hosted messaging gateway. Unlike standard AI chatbots that live in a browser tab, OpenClaw runs as a background process (daemon) on your machine. It maintains persistent connections to platforms like WhatsApp, Telegram, and Discord, routing messages to an "agent" that can execute code, use tools, and maintain long-term memory.
Key Features:
- Self-Hosted: You own the data and the execution environment.
- Multi-Channel: Native support for WhatsApp, Discord, Slack, and email.
- Skill-Based: Easily expandable with plugins (Markdown-defined "skills").
- Sandboxing: Docker-based isolation for security.
Prerequisites
Before we start, ensure you have:
- Node.js: Version 22 or higher (check with
node -v). - An LLM API Key: Anthropic (Claude 3.5 Sonnet is recommended) or Google (Gemini Flash is a free alternative).
- A Host Machine: You can run this on your local computer, but for security and 24/7 uptime, a Virtual Private Server (VPS) is highly recommended.
Step 1: Installation
OpenClaw is distributed via
npm. Open your terminal and run the following command to install it globally:Shell
npm install -g openclawOnce installed, we’ll run the onboarding wizard. We use the
--install-daemon flag so OpenClaw runs automatically in the background, ensuring your agent is always online.Shell
openclaw onboard --install-daemonStep 2: Configuration
The onboarding wizard will guide you through the setup:
- Gateway: Choose
Loopbackfor local setups orTailscaleif you are on a remote server. - Workspace: This is where your agent's "brain" lives (memory, identity, and skills). Default is
~/openclaw. - Model: Select your AI provider (e.g., Anthropic) and paste your API key.
- Identity: Give your agent a name! (e.g., "Nova").
⚠️ Security Warning: OpenClaw agents have root access to the machine they run on. Never run this on a machine with sensitive personal data without using Sandboxing (see Step 5).
Step 3: Connecting WhatsApp
Let’s bring your agent to life on WhatsApp.
- Enable the WhatsApp plugin if you haven't already:
openclaw plugins enable whatsapp. - Run the login command:
Shell
openclaw channels login- A large QR code will appear in your terminal. Open WhatsApp on your phone, go to Linked Devices, and scan it.
Once paired, text your agent directly on WhatsApp. Try saying: "Hey, who are you?"
Step 4: Connecting Discord
To add your agent to a Discord server:
- Create a new Application in the Discord Developer Portal.
- Get your Bot Token and enable Message Content Intent.
- Add the token to your OpenClaw configuration.
- Invite the bot to your server.
Now you can tag your bot in a channel to ask questions or have it manage server tasks.
Step 5: Using Skills
Skills are what make OpenClaw truly powerful. It comes with built-in skills for:
- File System: Read and write files (great for coding).
- Google Workspace: Manage Gmail and Calendar.
- Obsidian: Interact with your notes.
You can also write custom skills in Python. For example, you can ask OpenClaw to "Write a Python script to send an email to myself," and it will generate and execute the code using its environment.
Step 6: Security & Sandboxing
Because your agent can execute code, security is critical.
- Audit: Run
openclaw security auditto find vulnerabilities. - Sandboxing: Use Docker to isolate your agent.
Shell
scripts/sandbox_setup.sh- You can set the scope to
agent(one container per agent) orsession(fresh container for every chat), ensuring the AI cannot access your host's critical files.
Conclusion
OpenClaw is a game-changer for anyone looking to build a truly autonomous personal assistant. Whether you want a coding buddy, a social media manager, or a smart home controller, OpenClaw provides the open-source foundation to build it.
Ready to deploy? Check out the full documentation on the OpenClaw GitHub repository.